- Eren Olgun
- Jan 29, 2025
- 5 min read

Installing Oracle Linux 8.10 on Virtual Server (VirtualBox)

Hi,
To set up the environment in which we will install, we first need a virtualization software. At this point, we have two different options to set up our virtual server: VMware and Virtualbox. You can use this link to download VMware or this link to download VirtualBox. The rest of the article was prepared based on the VirtulBox environment.
In my first blog post, I will discuss how to install an operating system on a virtual server, which will form the basis of my future blog posts. Since I will install Oracle Database on this server in the future, I set the operating system to Oracle Linux. You can use a different Linux distribution depending on the situation.
After downloading the VirtualBox application, we need to download the ISO of the Oracle Linux 8.10 operating system. You can use this link to download the ISO file of Oracle Linux 8.10 operating system. After downloading the ISO file, we open our VirtualBox application. With the “New (Yeni)” button in the application, we open the screen where we will select the ISO file we downloaded.
On the screen that opens, we determine a name for the virtual machine we will install. Then we select the location of the ISO file we downloaded.

Then, in the same window, we expand the heading named "Hardware (Donanim)" below. In the hardware window, we adjust the RAM and processor according to the features of our computer. You can adjust the hardware to be more or less depending on the features of your computer. Just make sure that the adjustment you make stays within the area marked in green and does not extend into the orange/red area. After setting the main memory (RAM) to 8GB (8192 MB) and the number of processors to 4, we click "Next (Ileri)".

After completing the hardware setup, we select the "Hard Disk (Sabit Disk)" heading. After making a 50GB adjustment in the virtual hard disk window, we complete the basic settings by clicking "Finish (Bitir)".

After completing the initial settings, our virtual server will start to be listed on the left. After selecting the server from this list, we select the “Settings (Ayarlar)” option.

After selecting the "Network (Ag)" tab in the window that opens, we update the "NAT" option in the "Plugged in (Suna takili)" option for "Adapter 1 (Bagdastirici 1)" with the "Bridge Adapter (Kopru Bagdastiricisi)" option on the page that appears. Afterwards, after selecting the “OK (Tamam)” option, we start our server with the “Start (Baslat)” button to the right of the settings button.

We start the operating system installation by selecting the “Install Oracle Linux 8.10.0” option in the opened server window.

We select the language we want to appear in the installation wizard in which we will operate during the installation and click "Continue".

In order to avoid errors in our commands and texts on the server, we change the keyboard layout and save the changes with the "Done" button at the top left.


If the "Time & Date" section on the server is not "Europe/Istanbul timezone", we update it to Istanbul or to suit your own location. After making the adjustment, we complete the process with the "Done" button on the top left.


Then, by activating our internet connection by selecting the "Network & Host Name" option, we fix the errors under the "Installation Source" and "Software Selection" headings on the home page.

Clicking the button at the top right that reads "OFF" is enough to activate the connection. If any "IP Address" and "DNS" definitions are not completed automatically when you activate the button, clicking the "Done" button at the top left and coming to the "Network & Host Name" screen again will ensure these definitions are completed.


After activating the connection, we specify the server host name as "localhost.localdomain" and then apply it by clicking "Apply". The host name we set in the "Current host name" section should appear. After completing the adjustments, we complete our process with the “Done” option.

After making these adjustments, the "Installation Source" and "Software Selection" sections will start to update themselves. Once these two options are set as follows, we can continue our adjustments.


After everything is ready, we need to set the “Software Selection” section with the “Server with GUI” option. To do this, we need to go to the "Software Selection" screen and select the "Server with GUI" option from the options on the left. Afterwards, we save the adjustments with the "Done" button on the top left.

If the “Installation Destination” section appears as “Automatic partitioning selected”, we need to edit this field.

After selecting the "Custom" option for the "Storage Configuration" section in the window that opens, we proceed with the "Done" button on the top left.

On the new page that opens, we choose the option “Click here to create them automatically”.

In its initial form, we have 3 disks: “/ -> 44GB”, “/boot -> 1024 MiB” and “swap -> 5GB”. We need to make a few changes on these disks. First of all, we update the size of the “/” disk to “25 GiB” and click the “Update Settings” button. Then we add a new disk with the “+” option. We set this disk to “/home” and “16 GiB” and click “Add mount point”. We add the remaining 3GB to our "swap" space. We select the "swap" field from the panel and update the "Desired Capacity" option to "8 GiB" and click the "Update Settings" button.


You can create discs with exactly the same size by checking the required quantities below. After the process is completed, we save our disk settings by clicking “Done”.

We complete our disk settings by selecting the “Accept Changes” option in the last confirmation window that opens.

As the last setting, we need to create 2 users on the server. One of these users will be the "root" user and the other will be our own user. We continue with the "Root Password" and then the "User Creation" options, respectively.


We have completed all the operations on the server. Now we start the installation of the operating system by clicking “Begin Installation”.

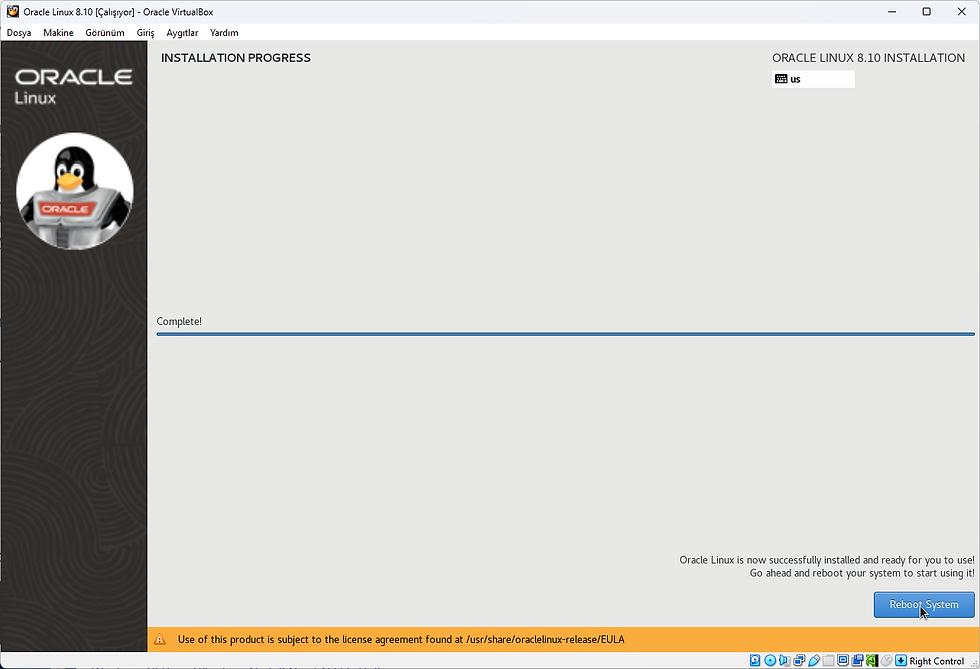
After the installation is completed, we restart our server by selecting the "Reboot System" option in the window that opens.
After the server is turned on again, a page opens asking us to accept the license. Here we click on the "License Information" heading and on the page that opens, "I accept the license agreement." We select the box and press the "Done" button at the top left.


After accepting the license, we complete the configuration settings by clicking the "FINISH CONFIGURATION" button at the bottom right of the home page.

After the user selection screen appears, we log in by entering the password of the user we created. Our virtual server is now ready for use.


Comments